Skip to content

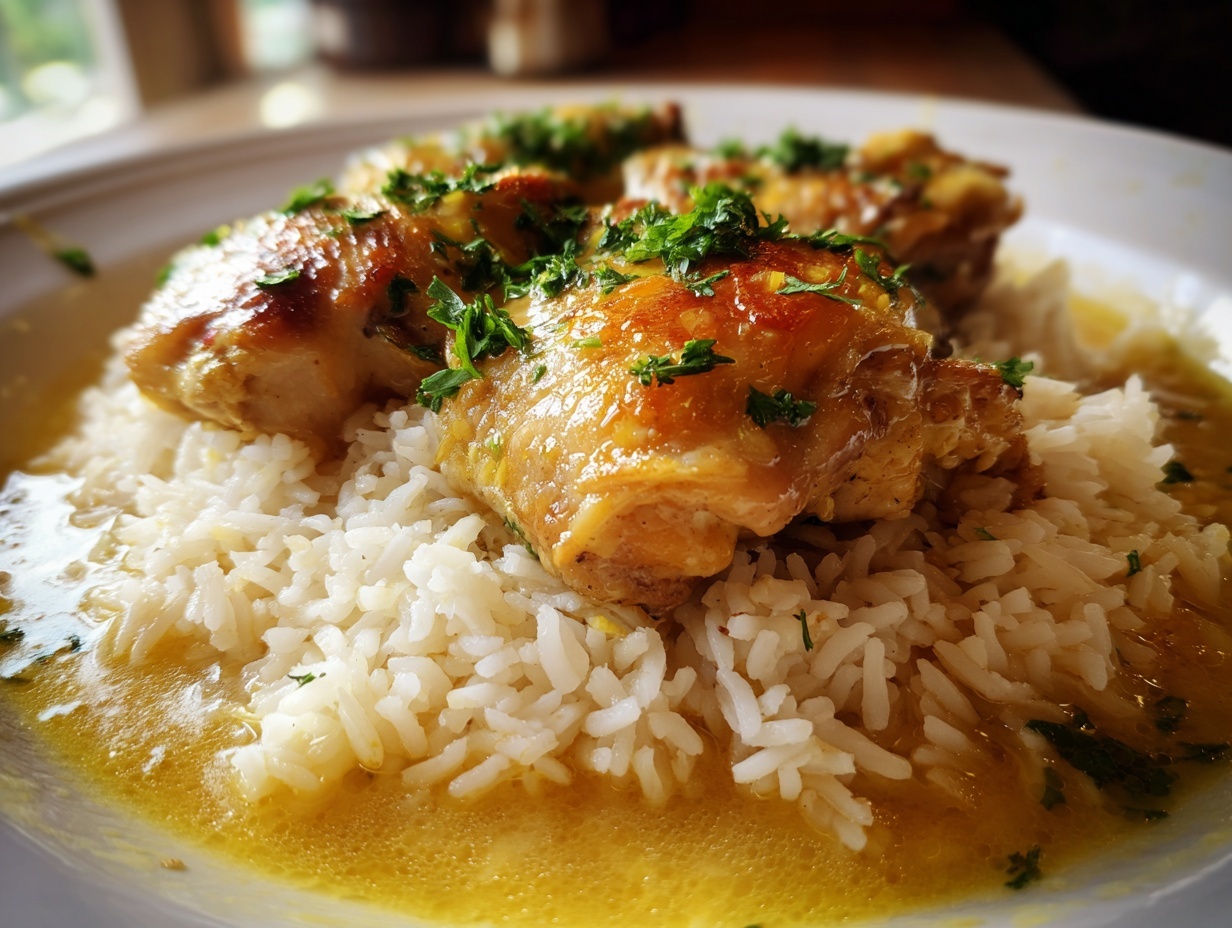
When I talk about my favorite meals, the roast chicken always tops the list. It sounds fancy, but I promise you, this herb and lemon version is my go-to for busy weeknights when I still want something truly special on the table. I’m Anna, and I’m obsessed with finding simple, flavorful chicken recipes that make everyday cooking feel joyful and easy.
Over the years, I’ve learned that the best food doesn’t need a million complicated steps. It just needs good technique and quality ingredients. This recipe is proof! We’re using fresh herbs and bright lemon to create a perfectly golden, crispy-skinned bird that stays unbelievably juicy inside. Trust me, once you try this method, you’ll feel like a kitchen pro, even if you only have 30 minutes to prep before it hits the oven.
Table Of content
Gathering Your Ingredients for the Perfect Roast Chicken
Getting ready to make this fantastic roast chicken is half the fun. We’re using simple things you probably already have, but the way we combine them makes all the difference in getting that incredible, tender result that feeds 4 to 6 people perfectly. Don’t rush this part; measuring out your herbs and getting your lemon ready sets the stage for success!
The flavor base comes from a vibrant mix of fresh herbs and bright citrus. I always encourage using fresh herbs if you can because the aroma while roasting is just unbeatable. Have your chicken ready to go—it needs to be thoroughly patted dry—before you start mixing the rub.

Core Components for Herb and Lemon Roast Chicken
- 1 whole chicken (about 4 pounds)
- 3 tablespoons olive oil
- 2 tablespoons unsalted butter, softened
- 4 garlic cloves, minced
- 1 tablespoon chopped fresh rosemary
- 1 tablespoon chopped fresh thyme
- 1 tablespoon chopped parsley
Essential Pantry Staples and Aromatics
- 1 teaspoon salt (you might add a tiny pinch more later, but start here!)
- ½ teaspoon black pepper
- 1 lemon, halved
- 1 onion, quartered
- 1 cup low-sodium chicken broth
- 3–4 sprigs fresh thyme (for roasting inside the cavity)
Now, here’s a quick note if you’re in a pinch: If fresh herbs aren’t available, don’t panic! You can totally substitute with dried herbs. Just use 1 teaspoon dried rosemary, 1 teaspoon dried thyme, and 1 teaspoon dried parsley for the rub instead. That still gives you wonderful flavor!
Equipment Needed for Your Roast Chicken
You don’t need a fancy setup for this bird, but a few key tools make the process smooth and ensure you hit that perfect temperature. Since we are roasting a whole chicken, having the right pan is important to catch those flavorful drippings. Don’t skip the thermometer; it’s our best friend for perfect results!
Make sure you have these items handy before you start mixing that delicious herb rub:
- A sturdy roasting pan or a large cast-iron skillet
- Paper towels (for drying the skin!)
- A small bowl for mixing the herb butter
- Kitchen twine for trussing the legs
- A reliable meat thermometer
Step-by-Step Instructions to Roast Chicken Perfection
Now we get to the fun part: turning those simple ingredients into a show-stopping roast chicken! This process is all about setting up the bird correctly so the heat works magic on the skin while keeping the meat tender. Remember, we are aiming for that beautiful golden crust and juicy interior. Grab your chicken and let’s get started!
Preparing the Chicken and Herb Rub
First things first: Preheat your oven to 425°F. Don’t put the chicken in until it’s fully heated! Next, take your paper towels and pat the chicken completely dry, inside and out. Seriously, this is crucial for crispy skin—any surface moisture turns to steam, not crispness. While that’s happening, mix your olive oil, softened butter, minced garlic, rosemary, thyme, parsley, salt, and pepper in a small bowl until it forms a fragrant paste.
Here’s my favorite trick: Gently run your fingers between the skin and the breast meat, creating a pocket. Take about half of that herb mixture and carefully rub it right onto the meat under the skin. Use the rest of the mixture to coat the outside skin evenly. This ensures flavor penetrates deep into the breast meat!
Stuffing and Trussing the Roast Chicken
Next, we need to fill that cavity up! Stuff the inside of the chicken with the lemon halves, the quartered onion, and those extra sprigs of fresh thyme. This steams the inside gently and infuses everything with bright flavor as it cooks. Don’t overstuff it, though; we need air to circulate!
Once stuffed, you need to secure the legs. Use your kitchen twine to tie the legs together snugly. This keeps the bird compact, helps it cook evenly, and looks so much nicer when you present it at the table. If you don’t truss it, the legs might splay out and cook faster than the breast.
Roasting Time and Internal Temperature Check
Place your prepared chicken breast-side up into your roasting pan. Pour that cup of low-sodium chicken broth into the bottom of the pan—this keeps the drippings from burning and adds moisture to the oven environment. Pop it into the 425°F oven. We roast for about 1 hour and 15 minutes total. Make sure to baste the chicken once halfway through cooking, just spooning those pan juices over the top.
When the time is nearly up, you absolutely must use your meat thermometer. Stick it into the thickest part of the breast, avoiding the bone. We are looking for 165°F. If it hits that temperature, you’re done! If not, give it another 5 to 10 minutes.

Resting and Serving Your Juicy Roast Chicken
This step is non-negotiable, people! Once you pull that beautiful bird out, transfer it to a cutting board and let it rest, uncovered, for a solid 10 to 15 minutes. If you carve it immediately, all those lovely juices run right out onto the board. Resting lets the juices redistribute back into the meat, guaranteeing that incredible juiciness. After resting, carve it up, garnish with fresh parsley and lemon wedges, and get ready for the compliments!
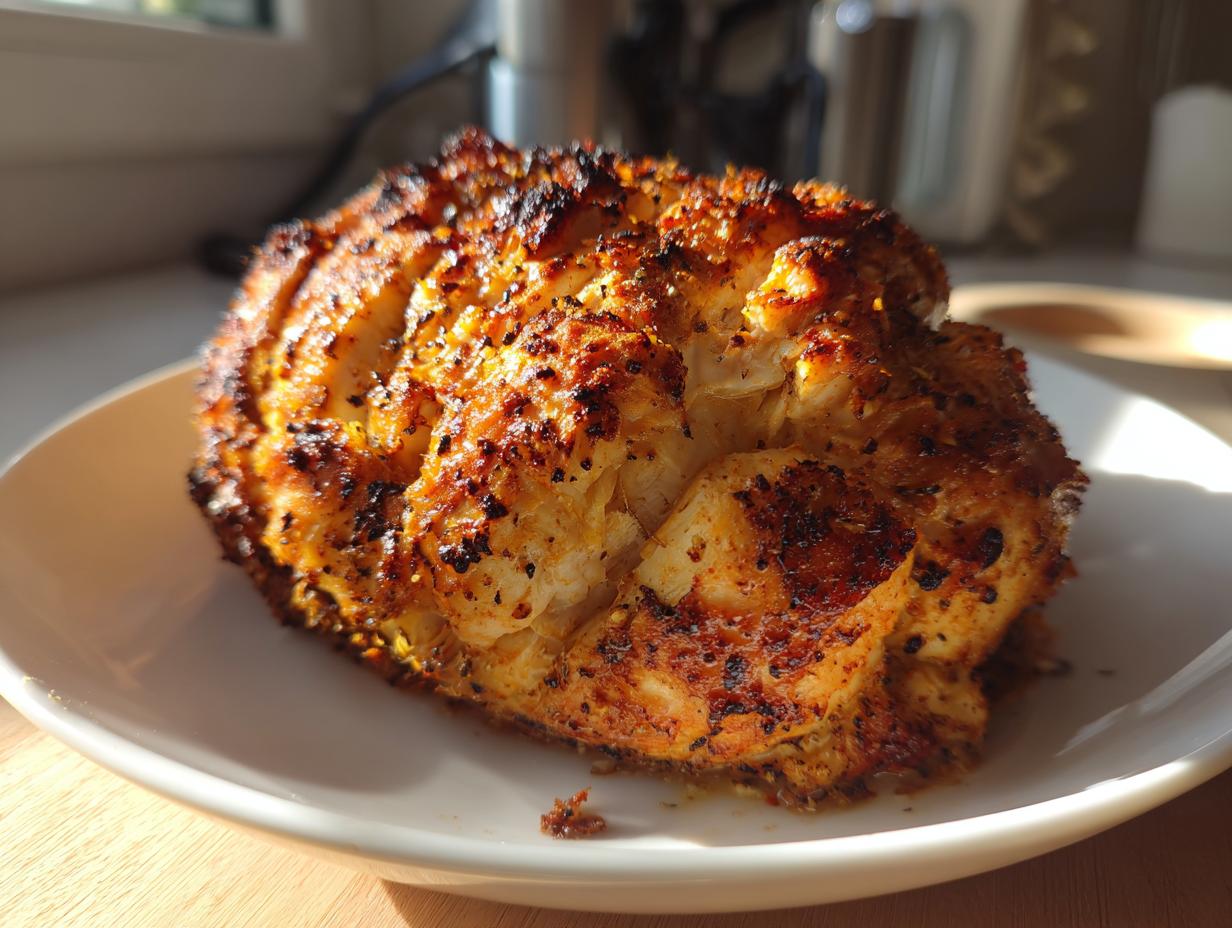
Tips for Achieving Crispy Skin on Your Roast Chicken
Everyone wants that shatteringly crisp skin when they make a roast chicken, and honestly, it’s all about two things: dryness and heat management. If the skin is wet when it goes into the oven, you end up steaming the bird instead of roasting it. That’s why I insist on patting the chicken down aggressively with paper towels—get all that surface moisture gone!
Once the skin is dry, we need high heat to crisp it up fast. We start at 425°F for a reason! However, if your chicken is browning too quickly before the inside is done, you can tent it loosely with foil about halfway through. This protects the skin from burning while the interior finishes cooking safely.
Another thing that really helps my herb chicken is the butter rub. Make sure the butter is softened, not melted, so it sits on top of the skin and helps it brown beautifully rather than just sliding off. If you really struggle, try brushing the skin with a tiny bit more olive oil right before the final 15 minutes of cooking. That extra fat helps everything turn that perfect, golden brown color that makes this dish so irresistible.
Frequently Asked Questions About Roast Chicken
It’s totally normal to have questions when tackling a whole bird! Don’t worry if you’re new to roasting; these simple techniques make every roast chicken successful. Here are the things I get asked most often about this recipe.
What is the safest internal temperature for this roast chicken?
Safety first, always! For any poultry, including this delicious herb chicken, you must make sure the internal temperature reaches 165°F (about 74°C). You absolutely need a reliable meat thermometer for this. Insert it into the thickest part of the breast or thigh, making sure the probe isn’t touching bone, which can give you a false high reading. That 165°F mark is your green light!
Can I prepare the herb rub for this roast chicken ahead of time?
Yes, you totally can! I often mix up the herb and garlic rub the night before. Just combine the softened butter, oil, minced garlic, and chopped fresh herbs, then store it covered in the fridge. The flavors actually meld together nicely overnight. Just remember to take it out about 30 minutes before you plan to use it so it softens up enough to spread easily under the skin!
How do I ensure my whole roasted chicken stays moist?
Moisture is the name of the game! We do three things here to guarantee a juicy whole roasted chicken. First, we add broth to the bottom of the pan, which creates steam. Second, we baste the chicken once during cooking. But the most important step? Letting that bird rest for 10 to 15 minutes after it comes out of the oven. That resting period lets all the juices soak back into the meat fibers instead of spilling out when you carve it.
Storing and Reheating Leftover Roast Chicken
Having leftovers from a fantastic roast chicken is like finding money in an old coat pocket—pure joy! But we have to handle those delicious remains correctly so they taste just as good the next day. I always look forward to chicken sandwiches or tossing the meat into a quick soup, but you can’t just leave it sitting out. Food safety is key here, even when you’re eager to start snacking! If you want more ideas for using up leftovers, check out my loaded chicken salad recipe.
The way you reheat this bird is critical, though. Chicken breast tends to dry out faster than the dark meat, so we need gentle heat and moisture to bring it back to life. You’ll be amazed how tender this meat stays if you follow these simple storage and reheating rules.
Storing Leftovers for Later Use
As soon as the chicken has cooled down enough that it’s not steaming hot anymore—usually about an hour after resting—it’s time to put it away. Cut up the meat, remove the bones, and store everything in clean, airtight containers. Don’t leave it sitting on the counter for more than two hours total! In the refrigerator, these leftovers are perfectly fine to eat for about three to four days. I honestly try to use it up in two, but four is the safe limit.
Best Methods for Reheating Roast Chicken
To reheat your leftover roast chicken, avoid the microwave if you can; it tends to turn the meat rubbery. If you must use the microwave, keep the portions small and add a tiny splash of water or chicken broth to the container before covering it. This creates steam and keeps things moist.
My preferred method is low and slow. Spread the chicken pieces in a baking dish, pour just a tablespoon or two of broth over them, cover the dish tightly with foil, and warm it up in a 300°F oven for about 15 minutes. That gentle heat warms everything through without sucking out any of the remaining moisture. It comes out tasting almost freshly roasted! For more great chicken ideas, see my guide on juicy baked chicken breasts.
Enjoying Your Simple Roast Chicken Meal
You’ve put in the work, and now it’s time to enjoy this incredible roast chicken! Because the main dish is packed with so much bright herb and lemon flavor, you don’t need complicated sides. I usually keep things classic and comforting.
Roasted root vegetables—think carrots and parsnips tossed lightly in olive oil—are fantastic because they take about the same time in the oven. Or, if you need something fast, creamy mashed potatoes are the perfect vehicle for soaking up all those delicious pan juices leftover in the roasting pan. A simple side salad balances out the richness perfectly! You can find more inspiration for delicious meals like this on my Pinterest page.
Print
Roast chicken: 1 amazing juicy secret
- Total Time: 1 hour 30 minutes
- Yield: 4–6 servings 1x
- Diet: Low Fat
Description
This herb and lemon roast chicken is tender, juicy, and perfectly golden with crisp skin. It is a simple, classic dinner full of fresh flavor and easy to make.
Ingredients
- 1 whole chicken (about 4 pounds)
- 3 tablespoons olive oil
- 2 tablespoons unsalted butter, softened
- 4 garlic cloves, minced
- 1 tablespoon chopped fresh rosemary
- 1 tablespoon chopped fresh thyme
- 1 tablespoon chopped parsley
- 1 teaspoon salt
- ½ teaspoon black pepper
- 1 lemon, halved
- 1 onion, quartered
- 1 cup low-sodium chicken broth
- 3–4 sprigs fresh thyme (for roasting)
- 1 tablespoon olive oil (for brushing)
- Fresh parsley and lemon wedges (for serving)
Instructions
- Preheat your oven to 425°F. Pat the chicken dry inside and out using paper towels.
- Combine olive oil, butter, garlic, rosemary, thyme, parsley, salt, and pepper in a small bowl.
- Gently loosen the skin over the breast and thighs. Rub half of the herb mixture under the skin. Rub the remaining mixture over the outside of the chicken.
- Stuff the cavity with the lemon halves, onion quarters, and a few thyme sprigs. Tie the legs together with kitchen twine.
- Place the chicken breast-side up in a roasting pan or cast-iron skillet. Pour chicken broth into the bottom of the pan.
- Roast for 1 hour 15 minutes. Baste the chicken once halfway through. The skin should be golden, and the internal temperature in the thickest part of the breast must reach 165°F.
- Let the chicken rest for 10–15 minutes before carving. This allows the juices to redistribute.
- Garnish with fresh parsley and lemon wedges before you serve it.
Notes
- If you do not have fresh herbs, use 1 teaspoon dried rosemary, 1 teaspoon dried thyme, and 1 teaspoon dried parsley for the rub.
- Always use a meat thermometer to check for doneness; 165°F is the safe internal temperature for poultry.
- Leftovers work well in salads or sandwiches.
- Prep Time: 15 minutes
- Cook Time: 1 hour 15 minutes
- Category: Main Course
- Method: Roasting
- Cuisine: American
Nutrition
- Serving Size: 1 serving
- Calories: 420
- Sugar: Low
- Sodium: Moderate
- Fat: 24g
- Saturated Fat: Low
- Unsaturated Fat: High
- Trans Fat: 0g
- Carbohydrates: 3g
- Fiber: Low
- Protein: 45g
- Cholesterol: High