Skip to content

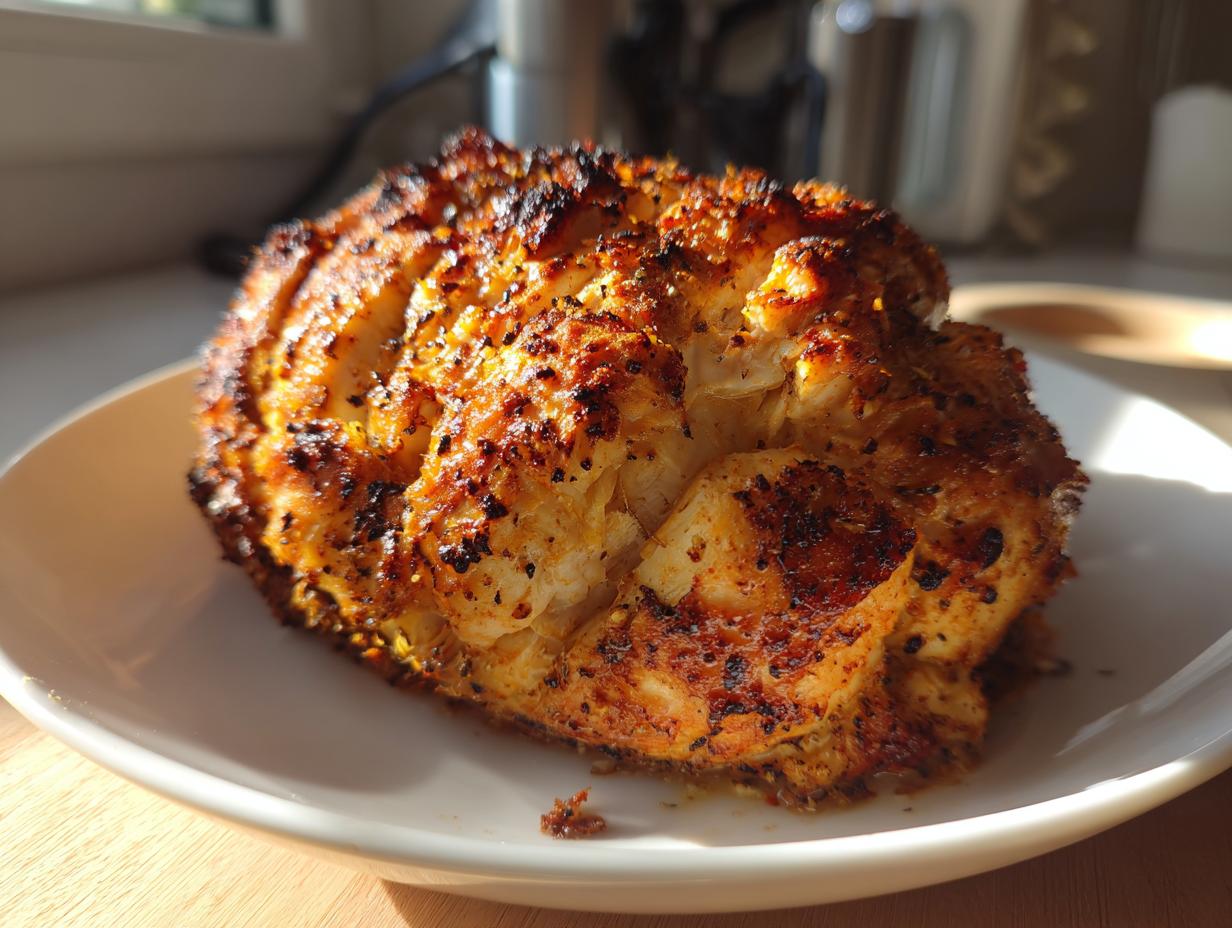
Hello everyone, I’m Anna, and I’m so excited you’re here! My whole mission is sharing simple, flavorful chicken recipes to make everyday cooking easier and more joyful for you busy folks. If you’ve ever stared at the clock on a Tuesday night wondering what to make, you’re in the right spot. I’ve perfected the art of delivering huge flavor without the huge time commitment. Today, we are diving into the absolute fastest way to get juicy, perfectly seasoned chicken on the table: Garlic Butter Chicken Tenders in 15 Minutes. Every step is designed for maximum taste with minimal fuss, proving that real, home-cooked food doesn’t need to be complicated.
Table Of content
Why You Will Make Garlic Butter Chicken Tenders in 15 Minutes Often
I truly believe this recipe is going to become your new weeknight hero. When you need dinner on the table fast, but you’re tired of bland, boring chicken, this is the answer. The flavor payoff from just a few pantry staples is honestly shocking for how little time it takes. I’ve streamlined every single step so you get incredible results, which is why I know you’ll be making Garlic Butter Chicken Tenders in 15 Minutes over and over again.
Here’s why this recipe wins every time:
- It’s lightning fast—dinner is ready before the kids finish setting the table!
- The bright, savory garlic butter coats every tender perfectly.
- You only dirty one pan, cutting down cleanup time significantly.

Quick Prep and Cook Times
When I say 15 minutes, I mean it. We’re talking about 5 minutes of active prep work—mostly just seasoning the chicken. The actual cooking time is just 10 minutes total on the stovetop. That tight window is what makes this recipe so reliable when life gets busy.
Simple Ingredient List for Garlic Butter Chicken Tenders in 15 Minutes
The beauty of this dish lies in its simplicity. You probably have most of what you need right now! We aren’t bringing out twenty different spice jars. We are focusing on quality basics to make these Garlic Butter Chicken Tenders in 15 Minutes sing. When you look at the ingredient list, you’ll see we rely on the magic combination of butter, garlic, and fresh herbs.
Essential Equipment for Success
Since this is a high-speed, one-pan recipe, having the right tools makes all the difference. Don’t skip the thermometer; it’s the key to perfectly cooked chicken every single time.
- A large, heavy-bottomed skillet (cast iron is fantastic here).
- Sturdy tongs for turning the chicken quickly.
- A reliable instant-read meat thermometer for checking doneness.
- A small spoon or spatula for scraping up the browned bits later on.
Gathering Your Ingredients for Garlic Butter Chicken Tenders in 15 Minutes
Okay, let’s get organized! Having everything measured out before you turn on the heat is crucial when you are cooking this fast. It prevents that panicked moment when the garlic starts burning because you’re still looking for the paprika. For this batch of Garlic Butter Chicken Tenders in 15 Minutes, we’re keeping the ingredient list tight and focused on pure flavor. I promise, you won’t need any fancy specialty items.
Remember, the quality of your butter and garlic really shows through here, so use the good stuff if you can!
Chicken and Fats
We need just enough chicken for a good sear without overcrowding the pan, which is why we stick to one pound. For the fats, we’re using a mix of olive oil for a higher smoke point and butter for that rich flavor.
- 1 pound chicken tenderloins (If you use breasts, just slice them into strips about an inch thick).
- 1 tablespoon olive oil.
- 2 tablespoons unsalted butter, divided (We use this in two parts, so keep them ready!).
Seasonings and Aromatics
This is where the main flavor comes from! Make sure your garlic is truly minced—those little pieces dissolve into the butter making the sauce incredible. If you don’t have fresh herbs right now, dried works fine, just use less!
- 2 teaspoons paprika.
- \u00bd teaspoon salt (Feel free to adjust this up or down based on how salty your final dish should be).
- \u00bc teaspoon black pepper.
- 4 garlic cloves, minced. (If using dried garlic powder, use about 1 teaspoon instead).
- 1 teaspoon Italian seasoning (If you only have dried oregano and thyme, use \u00bd teaspoon of each).
Finishing Touches
These last two ingredients are what turn the browned bits into a luscious sauce and give the final dish that fresh, restaurant-quality look.
- 2 tablespoons water (This is for deglazing the pan—don’t skip it!).
- 1 tablespoon chopped fresh parsley or basil for garnish. (If using dried herbs here, use only 1 teaspoon mixed in with the seasonings instead of garnishing at the end).
Step-by-Step Instructions for Garlic Butter Chicken Tenders in 15 Minutes
Alright, put your phone on the counter and set a timer! Since we are aiming for Garlic Butter Chicken Tenders in 15 Minutes, timing is everything. We start by getting our pan hot, which is key to a good sear. Don’t rush this first part!
Preparing the Chicken and Initial Sear
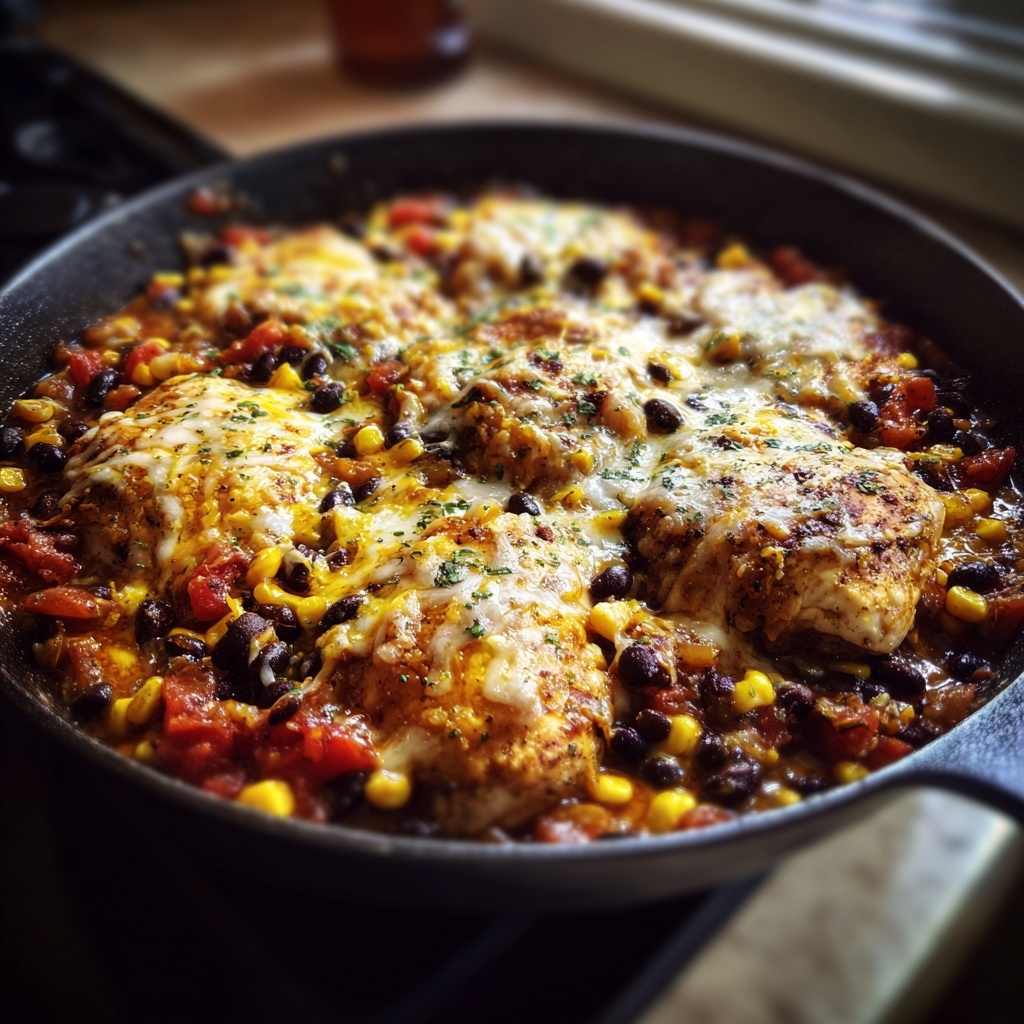
First things first, grab your seasonings: paprika, salt, and pepper. Toss the chicken tenders right in a bowl or even directly on a plate and make sure they are evenly coated. You want a nice, visible layer of spice. Next, heat your olive oil and half of your butter—that’s 1 tablespoon of each—in that large skillet over medium heat. Once the butter is melted and starting to foam just a little, carefully lay the seasoned tenders into the hot pan. Don’t crowd them! Cook these for exactly 3 minutes on one side until they look beautifully golden brown. Flip them carefully and cook for another 3 minutes on the other side.
Creating the Garlic Butter Sauce
Once both sides have that nice color, slide all the chicken over to one side of the skillet. This keeps them warm while we build the flavor base. Now, drop in that remaining tablespoon of butter right into the empty space in the pan. As it melts, toss in your 4 minced garlic cloves. You need to cook the garlic for just about 30 seconds, stirring constantly. Seriously, watch it like a hawk! Garlic burns fast, and burnt garlic tastes bitter, which ruins everything. Once it smells amazing—that bright, sweet garlic scent—sprinkle in your Italian seasoning and give it a quick stir with the chicken.
Deglazing and Final Cook Check
Time to capture all those tasty browned bits stuck to the bottom of the pan, that’s the fond! Pour in your 2 tablespoons of water and use your spatula to scrape everything up while stirring. This instantly creates a glossy, thin sauce. Let that cook for just one more minute so the sauce starts to reduce slightly. The most important step for perfect Garlic Butter Chicken Tenders in 15 Minutes is checking the temperature. Insert your thermometer into the thickest tender; when it reads 165°F (74°C), they are done! Pull them off the heat immediately to stop the cooking process.

Tips for Perfect Garlic Butter Chicken Tenders in 15 Minutes
We’ve moved fast, but speed doesn’t mean sacrificing quality. My goal is always to deliver chicken that is juicy on the inside and beautifully browned on the outside. Follow these quick checks, and your Garlic Butter Chicken Tenders in 15 Minutes will turn out restaurant-quality every time. It’s all about respecting the process, even when you’re in a rush!
Avoiding Dry Chicken
The absolute number one killer of tender, flavorful chicken is overcooking. You must use a meat thermometer! Aiming for 165°F (74°C) is non-negotiable for safety, but pulling them off the heat the *instant* they hit that mark is key for moisture. Also, when you first sear them, make sure your pan isn’t overcrowded. If you pile the tenders on top of each other, they steam instead of sear, and you lose that gorgeous golden crust we worked so hard to achieve.
Flavor Building Secrets
That golden-brown stuff stuck to the bottom of the pan after searing? That’s pure gold, my friend—it’s called fond. When you add the water to deglaze, you aren’t just adding liquid; you are dissolving all those caramelized chicken and spice bits into your sauce. Make sure you use a wooden spoon or a sturdy spatula to scrape every single bit up. That step is what gives the final sauce its depth and richness, turning simple butter into an incredible coating for your tenders.
Frequently Asked Questions About Garlic Butter Chicken Tenders in 15 Minutes
I know questions pop up when you’re trying a new fast recipe. These are the ones I hear most often about making these Garlic Butter Chicken Tenders in 15 Minutes. If you have any other burning thoughts, just drop them in the comments! You can also find more quick dinner ideas on our Pinterest page.
Can I use chicken breasts instead of tenders?
Absolutely! Chicken breasts are often cheaper, but they are thicker, so you’ll need to slice them into strips that are roughly the same thickness as tenders—about an inch thick. Because they are thicker, you might need to add an extra minute per side during that initial sear just to make sure they cook through evenly before you move on to the garlic butter stage.
How do I store leftover Garlic Butter Chicken Tenders in 15 Minutes?
For the best results, you want to store leftovers promptly. Place the cooled chicken tenders in a shallow, airtight container. They should stay good in the fridge for about 3 to 4 days. Try to keep the sauce that’s left in the pan separate if you can, or just make sure the tenders are well-coated before sealing them up!
Can I add vegetables to this one-pan meal?
Yes, you can sneak some veggies in there! Since we are moving so fast, you need veggies that cook quickly. I love tossing in a handful of cherry tomatoes right when I add the water to deglaze—they burst nicely and add sweetness. Spinach is another great option; just toss it in right at the very end, after the chicken hits 165°F, and let the residual heat wilt it down.
Storing and Reheating Your Quick Garlic Butter Chicken Tenders
Even though these Garlic Butter Chicken Tenders in 15 Minutes disappear fast, sometimes you end up with leftovers—which is great for lunch the next day! The key to keeping them tasty is how you store and reheat them. We want to preserve that beautiful garlic butter flavor and tenderness we worked for. If you are looking for other quick chicken meals, check out this Red Curry Chicken in 30 Minutes.
Best Method for Refrigeration
Once the chicken has cooled down completely after cooking, transfer it into a clean, airtight container. Make sure you scrape any remaining sauce from the pan into the container too—that sauce is flavor insurance! Stored properly in the fridge, these tenders are excellent for up to 4 days.
Reheating for Best Texture
Listen, you *can* use the microwave, but honestly, it tends to make chicken a little chewy. For the best texture that mimics freshly made, I highly recommend reheating them on the stovetop. Just toss the tenders back into that same skillet over medium-low heat with a tiny splash of water or broth. This gently warms them through, bringing back a little bit of that luscious sauce without drying them out. For more one-pan ideas, consider this Honey Garlic Chicken 1-Pan Recipe.
| Item | Storage Method | Duration |
|---|---|---|
| Chicken Tenders | Airtight Container | 3-4 Days |
Nutritional Estimates for This Recipe
I always have to remind myself that these tenders are packed with protein, which is fantastic for a quick meal! While I don’t sweat the exact numbers too much when I’m cooking fast, here is a general idea based on the ingredients listed for a 4-serving yield. Remember, this is just an estimate, and adding extra oil or salt will change things! If you prefer baked chicken, see my tips for Juicy Baked Chicken Breasts.
| Nutrient | Amount |
|---|---|
| Calories | 293 |
| Fat | 16g |
| Protein | 33g |
| Carbohydrates | 3g |

Amazing 15-Minute Garlic Butter Chicken Tenders
- Total Time: 15 minutes
- Yield: 4 servings 1x
- Diet: Low Fat
Description
Garlic Butter Chicken Tenders in 15 Minutes deliver juicy, flavorful chicken in one pan. This recipe uses simple ingredients for a fast and satisfying weeknight meal.
Ingredients
- 1 tablespoon olive oil
- 2 tablespoons unsalted butter, divided
- 1 pound chicken tenderloins (or chicken breasts cut into strips)
- 2 teaspoons paprika
- ½ teaspoon salt
- ¼ teaspoon black pepper
- 4 garlic cloves, minced
- 1 teaspoon Italian seasoning
- 2 tablespoons water
- 1 tablespoon chopped fresh parsley or basil for garnish
Instructions
- Heat olive oil and 1 tablespoon butter in a large skillet over medium heat.
- Add chicken tenders, then season with paprika, salt, and black pepper.
- Cook for 3 minutes on each side, turning once, until lightly golden.
- Move chicken to one side of the pan. Add remaining butter and garlic. Cook for 30 seconds until fragrant.
- Sprinkle Italian seasoning over the chicken and stir everything together.
- Pour in 2 tablespoons of water to deglaze the pan, scraping up any browned bits for extra flavor.
- Cook for another minute until the sauce slightly thickens and the chicken reaches 165°F.
- Garnish with chopped parsley or basil and serve warm.
Notes
- Do not overcook garlic or chicken to keep both tender and flavorful.
- Prep Time: 5 minutes
- Cook Time: 10 minutes
- Category: Main Course
- Method: Skillet
- Cuisine: American
Nutrition
- Serving Size: 1 serving
- Calories: 293
- Sugar: Not specified
- Sodium: Not specified
- Fat: 16g
- Saturated Fat: Not specified
- Unsaturated Fat: Not specified
- Trans Fat: Not specified
- Carbohydrates: 3g
- Fiber: Not specified
- Protein: 33g
- Cholesterol: Not specified