Skip to content

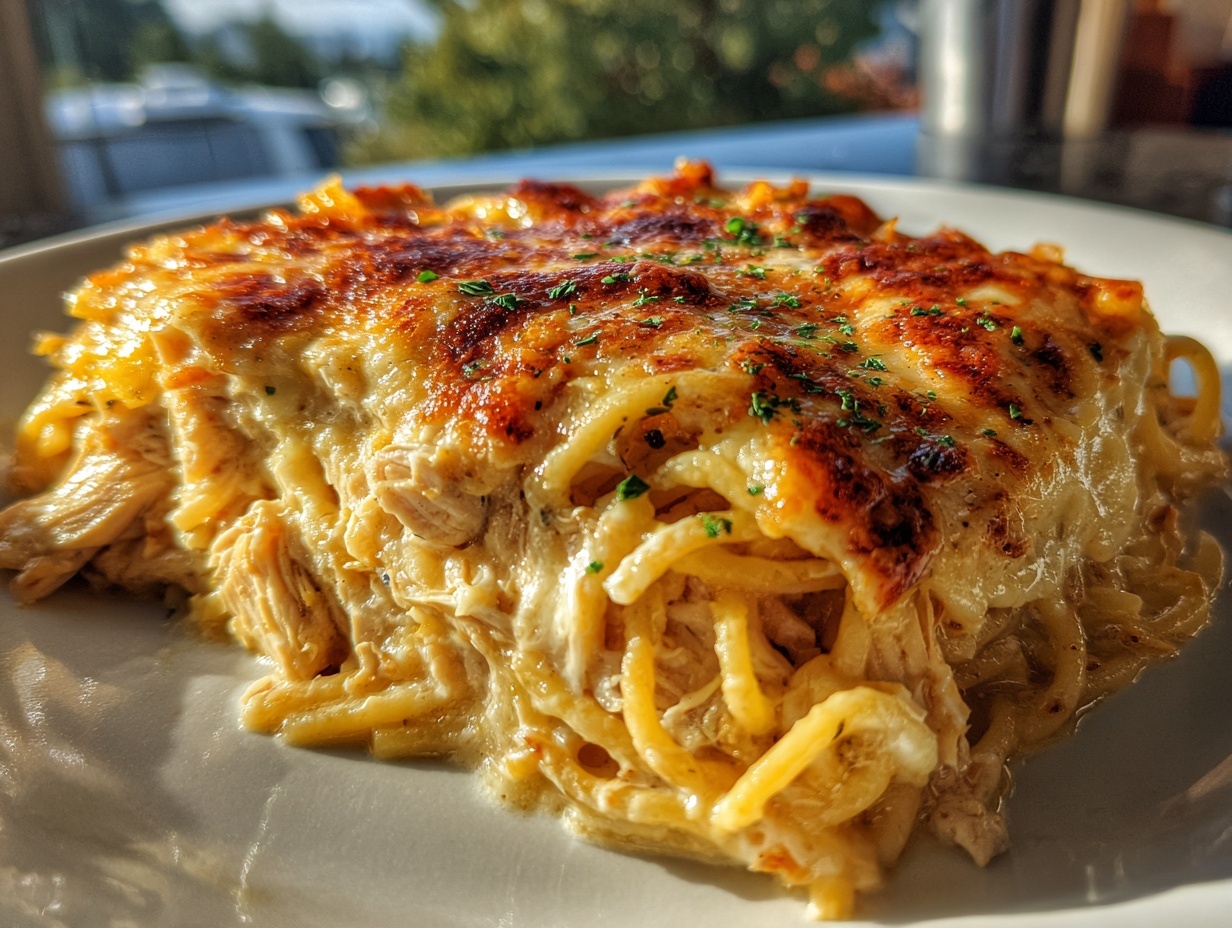
If you’re looking for a dinner that tastes like a vacation but takes almost no effort, you’ve come to the right place! We are diving deep into the **Chicken Aloha** today, and trust me, this recipe is going to be your new go-to for busy nights. Hi, I’m Anna, and I’m a passionate food lover who lives for sharing simple and flavorful chicken recipes designed to make your everyday cooking easier and, most importantly, more joyful.
This isn’t some fussy, complicated island dish. This **Chicken Aloha** is all about balancing that fantastic sweet and sour punch with tender chicken and bright peppers, all baked together in one pan. It’s tropical flavor achieved in under an hour. Forget takeout—we’re bringing the sunshine right to your dinner table tonight!

Table Of content
Gathering What You Need for Delicious Chicken Aloha
To make this incredible **Chicken Aloha**, you don’t need a specialty grocery run, which is part of why I love it so much for a quick weeknight fix. We are using simple pantry staples combined with fresh chicken and vibrant veggies to create magic. Lay everything out before you start searing—that way, when you transfer the chicken to the baking dish, you can move fast! Having your ingredients prepped makes the assembly of this tropical bake totally seamless.
This recipe makes about six generous servings, so you’ll have enough for a family dinner or some leftovers for lunch the next day. Let’s look at exactly what you need to pull off this easy chicken dinner.
Detailed Ingredient List for Chicken Aloha
| Amount | Ingredient | Preparation Notes |
|---|---|---|
| 2 pounds | Boneless skinless chicken thighs | Cut into 1\u00bd-inch pieces |
| 1 teaspoon | Salt | Divided (use \u00bd tsp for chicken, \u00bd tsp for sauce) |
| \u00bd teaspoon | Black pepper | For seasoning the chicken |
| 1 tablespoon | Vegetable oil | For searing in the skillet |
| 1 | Red bell pepper | Cut into 1-inch pieces |
| 1 | Green bell pepper | Cut into 1-inch pieces |
| 1 can (20 oz) | Pineapple chunks in juice | Drain the chunks well; reserve the juice! |
| \u2153 cup | Reserved pineapple juice | For the sauce mixture |
| \u2153 cup | Apple cider vinegar | Adds that essential tang |
| \u2153 cup | Packed light brown sugar | The sweetness balances the vinegar |
| 3 tablespoons | Ketchup | For color and depth |
| 2 tablespoons | Low-sodium soy sauce | Use regular if that’s all you have, but watch the salt later |
| 3 cloves | Garlic | Minced very finely |
| 1 tablespoon | Fresh ginger | Grated fine (see tips section for dried swap) |
| 2 tablespoons | Cornstarch | For thickening the sauce at the end |
| 2 tablespoons | Water | To mix with cornstarch (the slurry) |
| 3 | Green onions | Sliced for garnish |
Essential Equipment for Making Chicken Aloha
You really only need a few things for this one-pan wonder, which means cleanup is a breeze! First, you absolutely need a sturdy oven-safe baking dish—a standard 9×13 inch glass or ceramic pan works perfectly. You’ll also need a large skillet, preferably non-stick, for searing the chicken before it goes into the oven. Don’t forget your mixing bowls; you’ll need one medium bowl for whisking the sauce together and a small one for making that cornstarch slurry later on. Finally, grab a good whisk, some measuring spoons, and a reliable instant-read thermometer to check that chicken temperature later!
Step-by-Step Guide to Perfect Chicken Aloha
Now that we have all our vibrant ingredients ready, let’s actually cook this **Chicken Aloha**! The process is broken down into easy stages. Don’t rush the searing part; a little color on the chicken before it bakes adds so much flavor depth. Remember, we are aiming for flavor here, not cooking it all the way through yet!
Preparing the Chicken and Oven Setup for Chicken Aloha
First things first: get that oven hot! Preheat your oven to 375°F right away. While it heats up, lightly grease that 9×13-inch baking dish—I usually use a little extra oil or cooking spray to make sure nothing sticks later. Take your cut-up chicken thighs and toss them in a bowl with half a teaspoon of salt and all that black pepper. We want them seasoned well!
Next, grab your large skillet and get that tablespoon of vegetable oil heating over medium-high heat. Once it shimmers, carefully add the chicken pieces in a single layer. Don’t crowd the pan, or they’ll steam instead of sear! Cook them for about three minutes on each side until they look beautifully golden brown. Transfer those seared pieces right into your prepared baking dish and scatter those colorful red and green bell peppers all around them.
Creating the Signature Sweet and Sour Sauce
This is where the tropical magic really starts! Grab your medium mixing bowl. We need to combine everything that makes the sauce sing. Pour in that reserved pineapple juice—make sure you measured it right! Add the apple cider vinegar, that packed light brown sugar, ketchup, and the low-sodium soy sauce. Then, toss in the minced garlic and the grated fresh ginger. Now, take your whisk and beat this mixture together vigorously until you see that brown sugar completely dissolve. You shouldn’t feel any grit when you scrape the bottom of the bowl. Set that aside; it’s ready to pour!
Baking and Finishing the Chicken Aloha Dish
Take that beautiful sauce mixture and pour it evenly all over the chicken and peppers in the baking dish. Cover that pan tightly with foil—this traps the steam and helps cook the chicken through gently. Slide it into the preheated 375°F oven and let it bake for a solid 20 minutes. When those 20 minutes are up, pull it out carefully (it’ll be hot!). Scatter those drained pineapple chunks over everything. Put it back in the oven, this time UNCOVERED, for 10 more minutes. Use your thermometer to check the thickest piece of chicken; it must hit 165°F (or 74°C) before we move on to the final step.

Thickening the Sauce for the Best Chicken Aloha
We need that sauce thick and glossy, right? While the chicken finishes its final bake, quickly mix your cornstarch and water in that small bowl until it’s perfectly smooth—that’s your slurry. Once the chicken is cooked and the pineapple is heated through, carefully transfer all the chicken, peppers, and sauce from the baking dish right into a large skillet set over medium heat on the stovetop. Drizzle in that cornstarch slurry while stirring gently. Keep stirring constantly for just two or three minutes. You’ll see it transform from watery liquid to a rich, glossy glaze coating everything beautifully. That’s the sign to turn off the heat!
Why This Chicken Aloha Recipe Wins Weeknight Dinners
When life gets busy, dinner shouldn’t be a battle. This **Chicken Aloha** recipe is my secret weapon for those nights when I need maximum flavor with minimum fuss. It truly delivers on being a weeknight champion because it ticks all the boxes busy cooks need.
- Super Quick Prep: With minimal chopping and only 15 minutes of hands-on work, you can have this assembled before your favorite podcast even starts.
- Easy Cleanup: Since we bake everything in one dish and only use one skillet for searing and thickening, cleanup is incredibly fast. Fewer dishes mean more time relaxing!
- Perfectly Balanced Flavor: The sauce hits that sweet spot—tangy from the vinegar, slightly sweet from the brown sugar and pineapple, and savory from the soy. It’s bright and exciting without being heavy.
It’s a satisfying, tropical meal that feels special but requires almost no effort.
Tips for Mastering Your Chicken Aloha
Getting this **Chicken Aloha** right every single time is all about knowing a few little tricks I’ve learned after making this dozens of times. The goal is that perfect sauce consistency and juicy chicken, and it’s totally achievable if you pay attention to a couple of key points. Don’t stress if your sauce doesn’t thicken instantly when you add the slurry; you just need a little patience on the stovetop. Trust me, the final glossy coat is worth waiting for!
My biggest tip? Don’t skip the sear! Even though we bake it later, getting that initial golden crust on the chicken thighs locks in the juices and gives the final dish a much better texture. Also, make sure your pineapple chunks are drained well before you add them back in for the final bake; too much extra liquid can thin out your glaze unnecessarily.
Ingredient Substitutions for Chicken Aloha
I know sometimes you can’t find exactly what a recipe calls for, so don’t panic! If you are out of fresh ginger—which has that bright, sharp flavor—you can substitute it with dried ground ginger. Use about one teaspoon of dried ginger for every tablespoon of fresh ginger called for. It’s a little less punchy, but it works well in this baked sauce. Also, feel free to swap out the red and green peppers for any color you have on hand, like yellow or orange ones, for a beautiful presentation.
If you prefer chicken breasts, you can use them, but you have to watch the timing closely because they dry out faster than thighs. Use the thermometer religiously—165°F is the absolute ceiling for safety and tenderness! Lastly, if you don’t have apple cider vinegar, white vinegar is a fine substitute, but you might want to add just a tiny bit more brown sugar to balance the sharper edge.
Serving Suggestions for Your Flavorful Chicken Aloha
The beauty of this **Chicken Aloha** is that it comes with its own built-in sauce, which means the side dishes need to be simple carriers for that amazing glaze! Hands down, my favorite way to serve this is over a big mound of plain, perfectly steamed white rice. The rice soaks up every bit of that sweet and sour pineapple sauce, so don’t skimp on serving a generous portion underneath!
If you want something green to cut through the richness, keep it light. A side of quick-blanched broccoli or some steamed snap peas tossed with just a tiny squeeze of lemon juice works beautifully. You really don’t want anything too heavy or complex competing with the tropical flavors of the chicken. Serve it immediately while the sauce is hot and glossy, and enjoy that little taste of the islands!
Storing and Reheating Leftover Chicken Aloha
I always hope there are leftovers because this **Chicken Aloha** tastes fantastic the next day, especially if you let the rice soak up the extra sauce overnight! Since we used chicken thighs and a thickened sauce, it holds up really well in the fridge. Just make sure you let any hot leftovers cool down slightly before you seal them up tight. You want to avoid trapping steam, which can make the chicken soggy later on.
When it comes to reheating, I have two favorite ways depending on how much time I have. The microwave is fast, but the stovetop method keeps the sauce glossy and prevents the chicken from seizing up. Here’s the quick rundown on making sure your second serving is just as good as the first time around:
| Storage Detail | Duration/Method |
|---|---|
| Refrigeration Time | Up to 3 to 4 days in an airtight container. |
| Best Reheating Method | Stovetop: Gently simmer leftovers in a skillet over medium-low heat, adding a splash of water or broth if the sauce is too thick. |
| Quick Reheating Method | Microwave: Heat in short 45-second bursts, stirring in between to ensure even warming. |
Frequently Asked Questions About Chicken Aloha
I get tons of questions about this recipe because people love how easy it is, but they always want to make sure they get that perfect sweet and sour balance! Here are the things I hear most often about making this baked chicken dish at home. Don’t worry if something looks tricky; it usually isn’t once you know the secret!
Can I use chicken breasts instead of thighs in this Chicken Aloha recipe?
Yes, you certainly can use chicken breasts if that’s what you have! Thighs are my go-to because they stay super juicy during the two-stage cooking process, but breasts work fine. The main thing to remember with breasts is that they cook faster and can dry out if you overdo it. Make sure you check that internal temperature right at the 30-minute mark after removing the foil. They are done the second they hit that safe temperature, so watch closely!
How do I reduce the sweetness in the Chicken Aloha sauce?
That’s a great question for folks who prefer a tarter flavor profile! The sweetness comes primarily from the brown sugar and the pineapple juice. If you want to cut the sweetness in your pineapple sauce, try reducing the brown sugar by two tablespoons to start. Then, increase the apple cider vinegar by one extra tablespoon. Give it a taste test before you pour it over the chicken. You might even find that adding a tiny splash of regular water if the vinegar seems too sharp works wonders to balance it out.
What is the safe internal temperature for the chicken?
This is the most important question for any home cook! For safety, your baked chicken pieces—whether thighs or breasts—must reach an internal temperature of 165°F, which is about 74°C, when checked with a reliable meat thermometer inserted into the thickest part of the meat. We bake it covered first to get it close, and then uncovered to finish cooking and hit that safe mark. Never serve undercooked chicken!
Share Your Perfect Chicken Aloha Creation
I truly hope this easy **Chicken Aloha** brightens up one of your busy weeknights! It’s such a joy creating these simple recipes that bring big flavor to the table without the stress. I’m always eager to hear how things turn out in your kitchen. Did you try my tip about searing the chicken first? Go ahead and drop a comment below, let me know how you liked it, and don’t forget to give this tropical bake a star rating! See more great ideas here.
Print
Amazing Chicken Aloha: 1 Secret Step
- Total Time: 45 minutes
- Yield: 6 servings 1x
- Diet: Low Fat
Description
Chicken Aloha brings tropical island flavors to your dinner table. You bake tender chicken pieces with colorful bell peppers and pineapple in a tangy sweet and sour sauce. This easy one-pan recipe balances tangy vinegar with brown sugar sweetness for a quick weeknight meal.
Ingredients
- 2 pounds boneless skinless chicken thighs, cut into 1½-inch pieces
- 1 teaspoon salt, divided
- ½ teaspoon black pepper
- 1 tablespoon vegetable oil
- 1 red bell pepper, cut into 1-inch pieces
- 1 green bell pepper, cut into 1-inch pieces
- 1 can 20 ounces pineapple chunks in juice, drained with juice reserved
- ⅓ cup pineapple juice from the can
- ⅓ cup apple cider vinegar
- ⅓ cup packed light brown sugar
- 3 tablespoons ketchup
- 2 tablespoons low-sodium soy sauce
- 3 cloves garlic, minced
- 1 tablespoon fresh ginger, grated
- 2 tablespoons cornstarch
- 2 tablespoons water
- 3 green onions, sliced
Instructions
- Preheat your oven to 375°F. Lightly grease a 9×13-inch baking dish.
- Season chicken pieces with ½ teaspoon salt and black pepper.
- Heat vegetable oil in a large skillet over medium-high heat. Sear chicken 3 minutes per side until lightly golden.
- Transfer seared chicken to the prepared baking dish. Scatter bell pepper pieces around the chicken.
- Whisk together reserved pineapple juice, vinegar, brown sugar, ketchup, soy sauce, garlic, ginger, and remaining ½ teaspoon salt in a medium bowl until sugar dissolves.
- Pour sauce mixture evenly over chicken and peppers in the baking dish.
- Cover tightly with foil and bake 20 minutes.
- Remove foil. Add pineapple chunks to the dish. Bake uncovered 10 more minutes until chicken reaches 165°F internal temperature.
- Whisk cornstarch and water together in a small bowl to make a slurry.
- Transfer baking dish contents to a large skillet over medium heat. Stir in cornstarch slurry.
- Simmer 2 to 3 minutes, stirring gently, until sauce thickens and becomes glossy.
- Garnish with sliced green onions and serve immediately over rice.
Notes
- Chicken is safe to eat when it reaches an internal temperature of 165°F.
- Prep Time: 15 minutes
- Cook Time: 30 minutes
- Category: Main Course
- Method: Baking and Simmering
- Cuisine: American/Tropical
Nutrition
- Serving Size: 1 serving
- Calories: 315
- Sugar: Not specified
- Sodium: Not specified
- Fat: 9g
- Saturated Fat: Not specified
- Unsaturated Fat: Not specified
- Trans Fat: Not specified
- Carbohydrates: 32g
- Fiber: Not specified
- Protein: 28g
- Cholesterol: Not specified