Skip to content

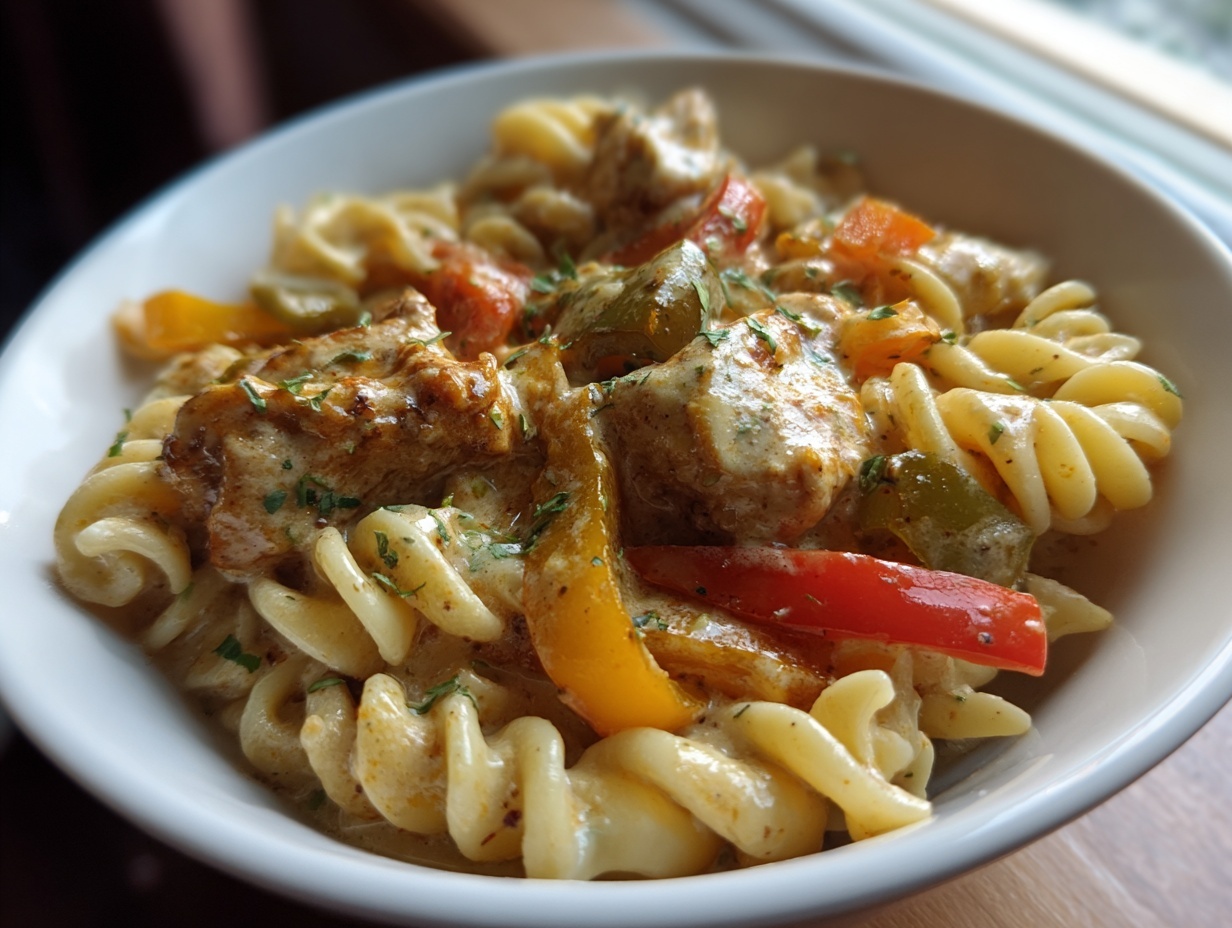
Wow, are you ready for some serious flavor with minimal effort? Today, we are diving headfirst into Crispy Balsamic Glazed Chicken! Seriously, if you need a dinner that tastes like you spent hours on it but actually takes about 25 minutes, this is your new go-to recipe. I’m Anna, by the way—a passionate food lover who believes that everyday cooking should be joyful, not stressful.
I live for finding those simple, flavor-packed recipes that busy home cooks can rely on. This one-pan meal delivers a gorgeous, crackly crust on the chicken, all coated in this shiny, sweet-and-sour balsamic reduction. It’s restaurant-quality stuff, I promise! Forget complicated steps; we’re keeping this straightforward, focusing on building layers of taste fast. You’re going to love how quickly this comes together for an impressive weeknight dinner.

Table Of content
Gathering What You Need for Crispy Balsamic Glazed Chicken
Okay, getting ready for Crispy Balsamic Glazed Chicken is half the fun because the ingredient list is so short and punchy! Because we are aiming for four perfect servings, make sure you have your chicken ready to go. Trust me, prepping the ingredients first makes the actual cooking process fly by. You won’t need much time, but precision matters here!
Chicken Preparation Ingredients
We need four boneless, skinless chicken breasts—about a pound and a half total. For our quick dry rub that builds that amazing crust, grab 1 teaspoon of salt, a half teaspoon of black pepper, 1 teaspoon of garlic powder, and a half teaspoon of sweet paprika. Don’t forget the 2 tablespoons of olive oil for getting that pan screaming hot!
Building the Balsamic Glaze Components
This is where the magic happens! For the reduction, you’ll need a half cup of balsamic vinegar and 3 tablespoons of honey for that sticky sweetness. We’re using 2 tablespoons of unsalted butter to finish it off smooth. Don’t skimp on the aromatics: we need 4 cloves of garlic, minced super fine, plus 1 tablespoon of fresh thyme leaves. A little kick comes from a quarter teaspoon of red pepper flakes, and we also need 1 teaspoon of Dijon mustard, plus an extra half teaspoon of salt and a quarter teaspoon of pepper just for the glaze itself.
Garnishes for Presentation
To make this look as good as it tastes, you’ll want some fresh toppings. I always have chopped fresh basil or parsley on hand. A little crumbled feta cheese adds a salty pop, and some halved cherry tomatoes bring in beautiful color and freshness right at the end.
Equipment Needed for Perfect Crispy Balsamic Glazed Chicken
You don’t need a million gadgets for fantastic Crispy Balsamic Glazed Chicken, but a few things make the job much easier. You absolutely must have a large skillet—one big enough so the chicken pieces aren’t totally crowded when searing. Make sure you have some plastic wrap handy for pounding the meat thin. And please, pull out that meat thermometer! It’s the only way to guarantee juicy, safe chicken. I always grab my trusty wooden spoon for scraping up all those lovely browned bits later on.
Mastering the Preparation of Crispy Balsamic Glazed Chicken
Alright, this is where we turn simple chicken breasts into something truly special. Pay close attention to these early steps because they are what guarantee that beautiful crust and that juicy interior for your Crispy Balsamic Glazed Chicken. We’re not just cooking chicken; we’re setting the stage for a fantastic glaze!
Preparing and Seasoning the Chicken
First things first: uniformity! Take those four chicken breasts and lay them between two sheets of plastic wrap. Now, grab a meat mallet or even the bottom of a heavy saucepan. You need to pound them down gently but firmly until they are all about the same thickness—aim for a perfect three-quarters of an inch. If they aren’t even, some parts will dry out while others are still raw. Oops!
Next up is drying. This is non-negotiable for crispiness! Use paper towels to pat every single surface of that pounded chicken bone dry. Moisture equals steam, and steam equals no crust. Once they are totally dry, hit both sides with your seasoning blend: salt, pepper, garlic powder, and paprika. Get a nice, even coat all over.
Achieving the Perfect Sear on Your Crispy Balsamic Glazed Chicken
Time for the heat! Pour your 2 tablespoons of olive oil into that big skillet and crank the heat up to medium-high. You want that oil shimmering—it should look slightly wavy, almost blurry, before you drop the chicken in. When you place the seasoned chicken into that hot pan, don’t move it, I mean it! Resist the urge to poke or prod it! Let it sit there undisturbed for a solid 5 to 6 minutes. This patience is what builds that deep, golden-brown crust that makes this Crispy Balsamic Glazed Chicken so famous. You can find more visual inspiration for perfect searing techniques on our Pinterest board.
Cooking the Chicken Through Safely
Once you see that deep color, flip the chicken. Now, immediately drop your heat down to medium. We want to finish cooking it gently. Keep an eye on the time—another 5 to 6 minutes usually does the trick, but you must check the temperature. Stick that thermometer right in the thickest part; we are aiming for 165°F (74°C). As soon as it hits that mark, take the chicken out onto a clean plate and cover it loosely with foil. Letting it rest for five minutes while we make the sauce is crucial for keeping the juices locked in.
Creating the Glossy Balsamic Reduction
Don’t clean that pan! Those little dark specks stuck to the bottom—that’s called the fond, and it’s pure flavor gold for our glaze. Turn the heat down to medium-low. Toss in your 2 tablespoons of butter and the minced garlic. Let that cook for just one minute until it smells amazing, but don’t let the garlic burn! Now, pour in the balsamic vinegar, honey, Dijon, thyme, red pepper flakes, and the extra salt and pepper. Grab that wooden spoon and really scrape the bottom of the pan—get every last bit up! Let this mixture come to a boil, then reduce the heat and let it simmer slowly for about 5 to 7 minutes. You’ll know it’s ready when the volume has halved and it thickens enough to coat the back of your spoon. That’s the perfect reduction for your Crispy Balsamic Glazed Chicken.
Finishing the Crispy Balsamic Glazed Chicken
We’re almost there! Turn the heat back up just a tiny bit. Gently place your rested chicken breasts—and any juices that collected on the plate—back into the skillet with that gorgeous glaze. Let it bubble around the chicken for just a minute or two, turning each piece once so it gets totally coated and shiny. This last little bath in the sauce is what makes the final dish unforgettable! If you enjoy this sticky glaze, you might also love our honey garlic chicken breasts recipe.

Tips for Success with Crispy Balsamic Glazed Chicken
Even though this Crispy Balsamic Glazed Chicken is super fast, a couple of little tricks will ensure you get that restaurant quality every single time. My number one piece of advice, which I mentioned before but can’t stress enough, is drying the chicken! If you skip patting it completely dry, you are trading that beautiful, audible sizzle for a sad, steamy mess. You just won’t get that crust we are aiming for.
When you are making the glaze, you have to watch it like a hawk near the end. Balsamic vinegar has sugar, and sugar burns fast! Keep that heat on medium-low once it starts bubbling vigorously. If you see it getting too dark or smelling acrid, yank the pan right off the burner immediately—you can always put it back on low. That fond you scrape up is essential, so make sure you get all those browned bits dissolved back into the sauce for the deepest flavor in your Crispy Balsamic Glazed Chicken.
Finally, don’t skip the resting period after you pull the chicken out of the pan. Five minutes tented under foil makes a huge difference in juiciness. When you slice into it right away, all those hard-earned juices run out onto the cutting board instead of staying in the meat. Patience pays off, even in a 25-minute meal! For more quick weeknight ideas, check out our quick and easy category.
Storing and Reheating Leftover Crispy Balsamic Glazed Chicken
I rarely have leftovers of my Crispy Balsamic Glazed Chicken because it disappears so fast, but when I do, proper storage is key! You want to let any cooked chicken cool down almost completely before you store it. Then, place the pieces and any leftover glaze into a good airtight container. It keeps beautifully in the fridge for up to three days. Just make sure the container seals tight!
Reheating is tricky because we want to preserve that crust we worked so hard to achieve. Don’t even think about the microwave if you want any crispness left! The absolute best way is to reheat it gently right back in a skillet over medium-low heat. If the glaze is too thick, splash in just a tiny bit of water or chicken broth. This warms everything through without scorching the sugars in the balsamic. A gentle warm-up keeps your leftover Crispy Balsamic Glazed Chicken tasting almost as good as fresh! If you prefer using an appliance for reheating, consider trying our air fryer maple glazed chicken breast recipe for perfectly crisp results.
Frequently Asked Questions About This Recipe
I get so many great questions about this recipe! It’s simple, but everyone has their own kitchen quirks, right? Here are the things folks ask me most often when they’re trying to nail that perfect Crispy Balsamic Glazed Chicken.
Can I use chicken thighs instead of breasts for this Crispy Balsamic Glazed Chicken?
Oh yes, chicken thighs are fantastic here! They are more forgiving and stay super juicy. If you use boneless, skinless thighs, they might take a minute or two longer to cook through than the pounded breasts—maybe 7 to 8 minutes per side for the sear. Just make absolutely sure you hit that 165°F temperature mark before you take them out to rest. Thighs don’t always come out as ‘crispy’ on the outside because they have more fat, but the glaze sticks to them like a dream!
How can I make this Balsamic Glazed Chicken recipe dairy-free?
It’s super easy to adapt this recipe for dairy-free cooking! The chicken itself is already fine. For the glaze, just skip the 2 tablespoons of unsalted butter entirely. You can substitute it with an equal amount of olive oil or a dairy-free butter substitute if you really want that richness. Also, remember to skip the crumbled feta cheese garnish at the end. If you want that salty tang, a little extra sprinkle of sea salt on top works just as well!
What is the best way to thicken the balsamic glaze faster?
I know those last few minutes feel like forever when you’re hungry! Resist the temptation to crank the heat way up to rush the reduction. Balsamic vinegar is full of sugar, and if you boil it too hard, it will scorch and taste bitter instantly. The best way to thicken that glaze for your Crispy Balsamic Glazed Chicken is to just keep the heat at a gentle medium-low simmer and stir often. It might take an extra minute or two, but that slow reduction ensures you get that beautiful, glossy texture without burning the honey and vinegar.
Serving Suggestions for Your Meal
This amazing Crispy Balsamic Glazed Chicken is so flavorful, it really shines next to simple sides. I always pair it with something green and something starchy. Roasted asparagus tossed with a little olive oil is perfect because it takes almost no effort. Fluffy quinoa or creamy mashed potatoes are wonderful for soaking up every last drop of that extra balsamic glaze! If you are looking for a great green side, check out our recipe for smothered green beans.
Print
Crispy Balsamic Glazed Chicken: 4 Ways Delectable
- Total Time: 25 minutes
- Yield: 4 servings 1x
- Diet: Low Fat
Description
Crispy Balsamic Glazed Chicken provides restaurant-quality flavor fast. You get pan-seared chicken with a golden crust, coated in a glossy, sweet-tangy balsamic reduction. This one-pan meal is perfect for quick, impressive weeknight dinners.
Ingredients
- 4 boneless, skinless chicken breasts (about 1½ pounds)
- 1 teaspoon salt
- ½ teaspoon black pepper
- 1 teaspoon garlic powder
- ½ teaspoon sweet paprika
- 2 tablespoons olive oil
- ½ cup balsamic vinegar
- 3 tablespoons honey
- 2 tablespoons unsalted butter
- 4 cloves garlic, minced
- 1 tablespoon fresh thyme leaves
- 1 teaspoon Dijon mustard
- ¼ teaspoon red pepper flakes
- ½ teaspoon salt (for glaze)
- ¼ teaspoon black pepper (for glaze)
- Fresh basil or parsley, chopped (for garnish)
- Crumbled feta cheese (for garnish)
- Cherry tomatoes, halved (for garnish)
Instructions
- Place chicken breasts between plastic wrap. Pound them to an even ¾-inch thickness for uniform cooking.
- Pat the chicken completely dry with paper towels. Season both sides with salt, black pepper, garlic powder, and paprika.
- Heat olive oil in a large skillet over medium-high heat until shimmering, about 2 minutes.
- Add the seasoned chicken to the hot skillet without moving it. Cook for 5-6 minutes until a deep golden crust forms on the bottom.
- Flip the chicken and reduce heat to medium. Cook for an additional 5-6 minutes until the internal temperature reaches 165°F.
- Remove the cooked chicken to a plate. Tent it loosely with foil to keep warm.
- In the same skillet, add butter and minced garlic. Cook for 1 minute until fragrant, stirring constantly.
- Pour in balsamic vinegar, honey, Dijon mustard, thyme, red pepper flakes, salt, and pepper. Scrape up the browned bits from the pan bottom with a wooden spoon.
- Bring the mixture to a boil. Reduce heat to medium-low and simmer for 5-7 minutes, stirring occasionally, until the glaze reduces by half and coats the back of a spoon.
- Return the chicken and any juices to the skillet. Spoon the balsamic glaze over each piece to coat completely.
- Cook for 1-2 minutes more, turning once to coat both sides. Garnish with fresh herbs, feta cheese, and halved cherry tomatoes before serving.
Notes
- Pound chicken evenly so it cooks at the same rate and stays juicy.
- Do not move the chicken during the first 5 minutes of searing to build a proper crust.
- Scraping the browned bits (fond) from the pan significantly enriches the glaze flavor.
- Watch the glaze carefully; balsamic vinegar burns easily. Simmer on medium-low heat and stir frequently.
- Let the chicken rest for 5 minutes after cooking before slicing to keep the meat moist.
- Store leftovers in an airtight container for up to 3 days. Reheat gently on the stovetop with a splash of broth or water.
- Prep Time: 5 minutes
- Cook Time: 20 minutes
- Category: Main Course
- Method: Pan-Seared
- Cuisine: American
Nutrition
- Serving Size: 1 serving
- Calories: 315
- Sugar: Not specified
- Sodium: Not specified
- Fat: 10g
- Saturated Fat: Not specified
- Unsaturated Fat: Not specified
- Trans Fat: Not specified
- Carbohydrates: 18g
- Fiber: Not specified
- Protein: 39g
- Cholesterol: Not specified