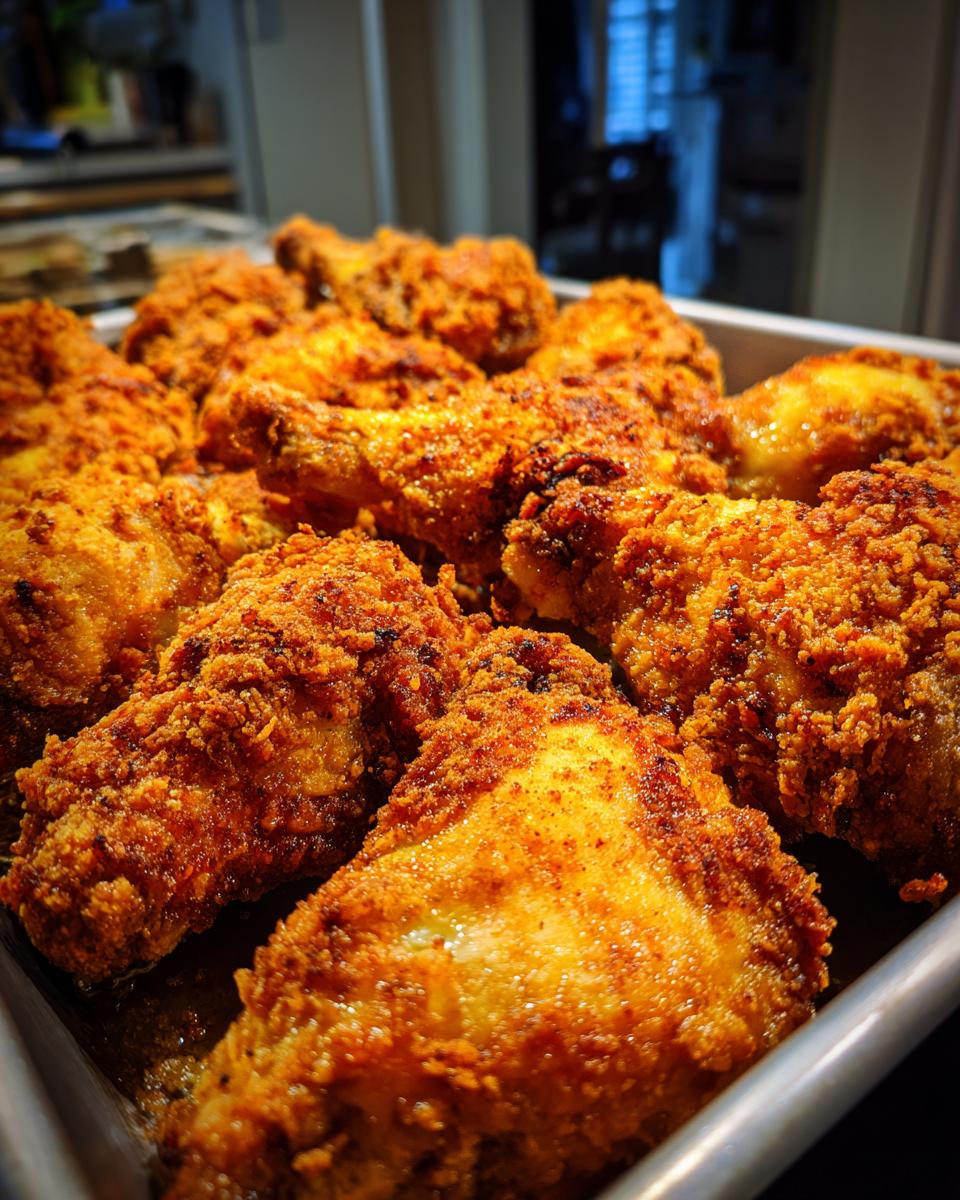
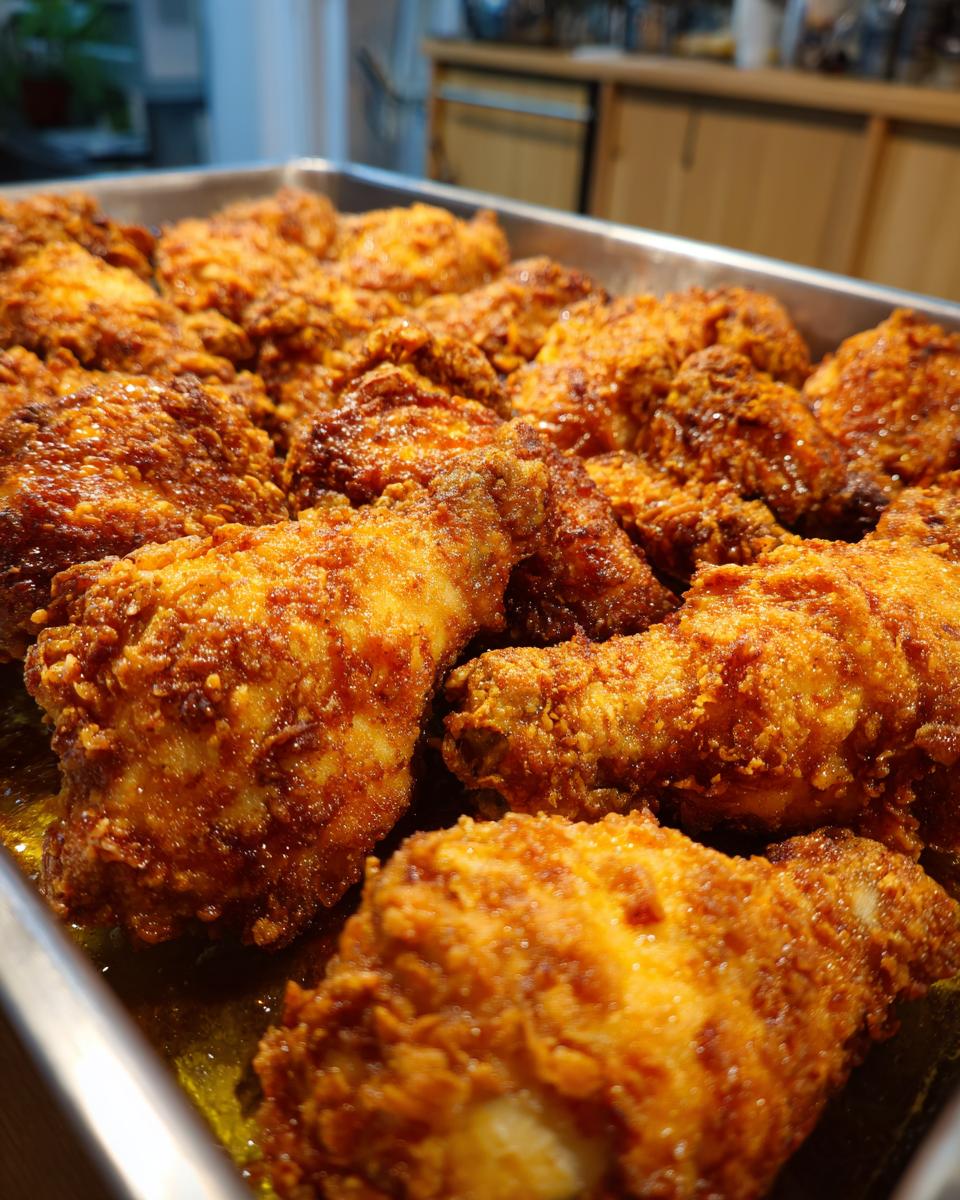
Hey there! I’m Anna, a total food lover who gets genuinely excited about making everyday cooking not just easy, but a real joy. You know, those nights when you want something absolutely delicious for dinner but don’t have hours to spend in the kitchen? That’s where my chicken recipes come in! I’ve always loved finding ways to bring comfort and flavor to the table, and this Juiciest Baked Fried Chicken recipe is a prime example. It’s become such a hit with my family, and I can’t wait for you to try it and see why it’s a new favorite for yours too!
Table Of content
Why You’ll Love This Juiciest Baked Fried Chicken
Seriously, this Juiciest Baked Fried Chicken is a game-changer for dinner. It’s got that amazing crunch you crave, but the inside is unbelievably tender and juicy. Plus, it’s so simple to whip up, making it perfect for those busy weeknights when you need a win!
Crispy Coating, Tender Inside
You get that fantastic, satisfying crunch from the coating, but the chicken itself stays incredibly moist and tender. It’s the best of both worlds!
Simple Weeknight Meal Solution
Forget the fuss of actual frying. This recipe is a lifesaver, giving you all the deliciousness with way less effort, perfect for getting a tasty meal on the table fast.
Gathering Your Ingredients for Juiciest Baked Fried Chicken
Alright, let’s get our ducks in a row – or rather, our chicken pieces! To make this Juiciest Baked Fried Chicken absolutely perfect, you’ll want to have all your ingredients prepped and ready. It really makes the whole process smoother, trust me. We’re talking simple things here, but the quality and prep make all the difference in getting that amazing crispy-on-the-outside, juicy-on-the-inside result.
Essential Ingredients for Perfect Juiciest Baked Fried Chicken
| 6 boneless, skinless chicken breasts | cut into thirds |
| 1 cup buttermilk | for marinating |
| 1 cup all-purpose flour | the base for our coating |
| ½ teaspoon salt | for seasoning the flour |
| 1 tablespoon seasoned salt | the secret to extra flavor! |
| ¾ teaspoon black pepper | just enough kick |
| 2 teaspoons paprika | for color and a little sweetness |
| ¼ cup butter | melted for the pan |
Step-by-Step Guide to Making Juiciest Baked Fried Chicken
Alright, let’s get this party started! Making this Juiciest Baked Fried Chicken is really straightforward, and I promise, the results are totally worth it. Just follow these steps, and you’ll have amazing, crispy, juicy chicken without all the mess of frying.
Marinating for Maximum Juiciness
First things first, we need to get our chicken super tender. Pop those chicken pieces into a big bowl and pour the buttermilk all over them. Give them a good stir so they’re all coated, then cover it up and let it chill in the fridge for at least 30 minutes. This step is key for that melt-in-your-mouth juiciness!
Preparing the Flavorful Coating
While the chicken is getting its buttermilk bath, let’s make our magic coating. Grab a big Ziploc bag – those sturdy ones work best. Toss in your flour, salt, that seasoned salt (don’t skip it!), black pepper, and paprika. Seal the bag up tight and give it a good shake until everything is mixed up really well. You want all those yummy spices distributed evenly.
Baking to Golden Perfection
Now, get your oven preheated to 400°F (that’s 200°C). While it’s heating, carefully take your melted butter and swirl it around in a 9×13-inch baking pan. You want a nice, even layer coating the bottom. Then, take your chicken out of the buttermilk, letting any extra drip off. Pop the chicken into your flour-coated bag, seal it again, and shake, shake, shake until every piece is nicely coated. Arrange the chicken in a single layer in that buttered pan. Pop it into the hot oven for 20 minutes. After 20 minutes, carefully flip each piece over and bake for another 20 minutes. You’re looking for that beautiful golden-brown color and making sure it’s cooked all the way through.

The Crucial Resting Period
Okay, this might be the hardest part – waiting! Once the chicken is out of the oven and looks perfectly golden, resist the urge to dig in immediately. Let it rest in the pan for about 5-10 minutes. This little break allows the juices to redistribute throughout the chicken, ensuring every bite is incredibly moist and tender. Trust me, this step makes a huge difference in keeping your Juiciest Baked Fried Chicken super juicy!
Tips for Achieving the Ultimate Juiciest Baked Fried Chicken
You know, getting that perfect balance of crispy coating and super moist chicken can feel like a culinary tightrope walk, but I’ve got a few tricks up my sleeve that make this Juiciest Baked Fried Chicken recipe a breeze!
Ensuring an Evenly Crispy Crust
The key here is that melted butter in the pan. Make sure it’s fully melted and you swirl it to coat the bottom *really* well before adding the chicken. This creates a hot, buttery base that helps the coating crisp up beautifully and evenly.
Avoiding Dry Chicken Breasts
Chicken breasts can go from perfect to dry in a flash! My best advice? Don’t overcrowd the pan. Give those chicken pieces a little breathing room so the heat can circulate properly. If your oven has a thermometer, keeping an eye on the internal temperature (aim for 165°F or 74°C) can also be a lifesaver! For more chicken inspiration, check out these skillet bang bang chicken thighs.
Flavor Enhancements and Variations
Feeling adventurous? You can totally jazz up that flour coating! Try adding a pinch of garlic powder, onion powder, or even a dash of cayenne for a little heat. A little dried thyme or rosemary in the mix is delicious too! You might also enjoy our creamy tuscan chicken pasta.
Frequently Asked Questions About Juiciest Baked Fried Chicken
Got questions about making this Juiciest Baked Fried Chicken? I totally get it! It’s always good to have a little extra guidance. Here are some of the most common things people ask, and I’m happy to share my thoughts!
Can I use chicken thighs instead of breasts?
Absolutely! Chicken thighs are fantastic and often stay even juicier. You can totally swap them out. Just make sure they’re boneless and skinless, and you might need to bake them a little longer, maybe an extra 5-10 minutes, depending on their size. Keep an eye on them!
How do I know when the chicken is fully cooked?
The easiest way is to use a meat thermometer; you’re looking for an internal temperature of 165°F (74°C) in the thickest part of the chicken. If you don’t have one, you can carefully pierce a piece with a knife or skewer. The juices should run clear, not pink, and the meat should be opaque all the way through.
Can I make the flour coating ahead of time?
Yes, you can totally mix up your seasoned flour coating a day or two in advance! Just store it in an airtight container or bag in your pantry. It makes getting the chicken ready even quicker when you’re ready to bake. Just give it a quick shake to re-mix before you start coating the chicken.

Nutritional Information for Juiciest Baked Fried Chicken
Now, I know we all love delicious food, but it’s also nice to have a general idea of what’s in our meals. These numbers are just estimates, of course, because every kitchen is a little different! But this will give you a good ballpark for this amazing Juiciest Baked Fried Chicken.
Estimated Nutritional Breakdown
| Calories | Estimated 350-400 |
| Protein | Estimated 30-35g |
| Fat | Estimated 15-20g |
| Saturated Fat | Estimated 5-7g |
| Unsaturated Fat | Estimated 10-13g |
| Trans Fat | Estimated 0g |
| Carbohydrates | Estimated 20-25g |
| Fiber | Estimated 1-2g |
| Sugar | Estimated 2-4g |
| Sodium | Estimated 500-700mg |
| Cholesterol | Estimated 100-120mg |
Storing and Reheating Your Juiciest Baked Fried Chicken
Oh, the glorious dilemma of leftovers! If, by some miracle, you have any Juiciest Baked Fried Chicken left, don’t fret. We want to keep it tasting almost as good as when it was fresh. Proper storage and reheating are key to enjoying this yummy chicken again!
Proper Storage Methods
Once your chicken has cooled down a bit, get it into an airtight container. This is super important to keep it from drying out. Pop it in the fridge, and it should be good for about 3 to 4 days. Just make sure it’s sealed up tight!
Reheating for Best Results
Microwaving can sometimes make fried chicken a bit… well, sad and soggy. For the best results and to bring back some of that crispiness, I highly recommend reheating it in the oven or an air fryer. Pop it on a baking sheet in a preheated oven at around 375°F (190°C) for about 10-15 minutes, or until it’s heated through and the coating is a bit crispy again. An air fryer works wonders too, usually just a few minutes at a similar temperature! For more recipe ideas, follow us on Pinterest.
PrintThe Juiciest Baked Fried Chicken: 20 Min Magic
- Total Time: 1 hour 10 minutes
- Yield: 6 servings 1x
- Diet: Vegetarian
Description
Juiciest Baked Fried Chicken: Crispy and juicy chicken breasts baked to perfection. This recipe is a family favorite, offering a taste that rivals deep-fried chicken.
Ingredients
- 6 boneless, skinless chicken breasts, cut into thirds
- 1 cup buttermilk
- 1 cup all-purpose flour
- ½ teaspoon salt
- 1 tablespoon seasoned salt
- ¾ teaspoon black pepper
- 2 teaspoons paprika
- ¼ cup butter
Instructions
- Place chicken pieces in a large bowl and pour buttermilk over them. Marinate in the fridge for 30 minutes.
- Preheat oven to 400°F. Melt butter in a 9×13-inch baking pan in the oven. Swirl to coat the bottom.
- In a large Ziploc bag, combine flour, salt, seasoned salt, black pepper, and paprika. Shake to mix.
- Remove chicken from buttermilk, letting excess drip off. Place chicken in the flour mixture bag, seal, and shake until coated. Arrange chicken in a single layer in the buttered pan.
- Bake for 20 minutes. Flip each piece. Bake for another 20 minutes until golden brown and cooked through. Rest for a few minutes before serving.
Notes
- For extra tenderness, marinate the chicken in buttermilk for at least 30 minutes.
- Ensure the butter is evenly distributed in the pan for consistent crispiness.
- Shake the flour mixture bag well to ensure the chicken is thoroughly coated.
- Allow the chicken to rest for a few minutes before serving to keep it juicy.
- Prep Time: 30 minutes
- Cook Time: 40 minutes
- Category: Main Course
- Method: Baking
- Cuisine: American
Nutrition
- Serving Size: 1 serving
- Calories: Estimated 350-400
- Sugar: Estimated 2-4g
- Sodium: Estimated 500-700mg
- Fat: Estimated 15-20g
- Saturated Fat: Estimated 5-7g
- Unsaturated Fat: Estimated 10-13g
- Trans Fat: Estimated 0g
- Carbohydrates: Estimated 20-25g
- Fiber: Estimated 1-2g
- Protein: Estimated 30-35g
- Cholesterol: Estimated 100-120mg


